Measure Your Ring Size at Home the Right Way
Buying a ring without the wearer present is one of the most common puzzles in fine jewelry, and the good news is that a usable measurement rarely requires a trip to a counter. With a strip of paper, a ruler, and a few minutes of patience, you can land on a size that is close enough to order confidently or to hand a jeweler for final checking.
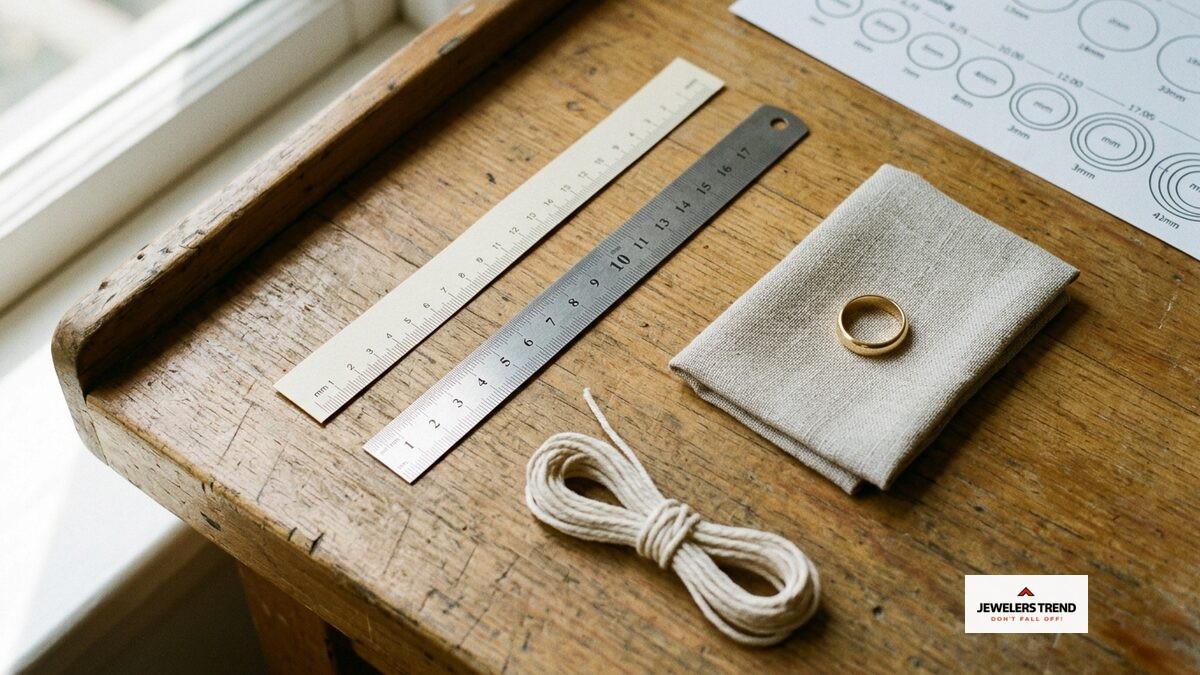
Ring size is really two measurements in disguise: the circumference of the finger and the inside diameter of the band that will sit on it. Every sizing chart converts between the two, so the task at home is simply to capture one of them accurately. The methods below cost nothing and, done with a little care, get you close enough to order with confidence or to hand a jeweler for a final check.
The two reliable ways to measure at home
The first method uses a thin strip of paper or a length of non-stretchy string. Cut a strip about a centimeter wide, wrap it snugly around the base of the intended finger, and mark where the end overlaps. Lay the strip flat against a ruler and read the length in millimeters. That number is your finger circumference, which maps directly to a standard size on any ring size chart. Measure two or three times and take the reading that repeats.
A few details make this far more accurate:
- Wrap at the base of the finger, not the knuckle, but make sure the strip can still slide over the knuckle when you pull it off.
- Keep the strip firm against the skin without digging in; a loose wrap reads large and gives you a ring that spins.
- Use string only if it does not stretch, since any give throws the number off.
- Double-check your millimeter reading against a printed chart rather than guessing the conversion.
Avoid measuring when your hands are cold or freshly washed with hot water, both of which distort the reading. Room-temperature, relaxed hands give the most representative result, and a quick second attempt an hour later is a cheap way to confirm it.
The second method works when the wearer already owns a ring that fits the correct finger. Take a ring they wear comfortably, measure the inside diameter across the middle with a ruler, and match that figure to a chart's diameter column. Many jewelers and retailers also publish printable guides that let you rest an existing ring over a series of printed circles until you find the one that matches its inner edge. This approach is often the most reliable at home because a finished band removes the guesswork of wrapping.
If you are buying as a surprise, borrowing a ring the person already wears is the quietest way to get an answer. Just confirm which finger and which hand it belongs to, because a ring sized for the right middle finger tells you little about the left ring finger.
If you download a printable sizing chart, print it at full scale with no page fitting, then verify it against the one-inch reference box many charts include. Printers quietly shrink pages to fit margins, and a chart that printed at ninety percent will hand you a ring a full size off. This single check catches one of the most frequent errors in at-home sizing.
Timing, finger variance, and when to size up
Fingers are not a fixed size, and this is where most at-home measurements go wrong. Heat, salt, exercise, and time of day all change the circumference of a finger over the course of a day. A measurement taken first thing in the morning can read noticeably smaller than one taken after a warm afternoon. The common guidance is to measure at the end of the day, when hands are at their warmest and most swollen, so the ring stays comfortable at its tightest likely moment.
Variance also shows up from hand to hand. The dominant hand tends to run slightly larger, so a reading from the right hand should not be used blindly for a left-hand ring. Cold weather shrinks fingers; a tight grip or a recent workout swells them. If you can, measure the same finger on a few different days and average the results rather than trusting a single snapshot.
Finger shape matters too. Some people have large knuckles relative to the base of the finger, which means a ring that slides over the knuckle will sit loosely once it settles. If that describes the wearer, measure both the knuckle and the base, then choose a size between the two so the ring passes over comfortably without spinning in place. A band that cannot clear the knuckle is no use regardless of how well it fits the base.
Band width is the other variable people forget. A wide band covers more of the finger and sits more snugly than a thin one at the same nominal size, so wide designs generally need to be ordered a quarter to a half size larger than a narrow band would be. If the ring has a broad profile, a comfort-fit interior, or a stacked look, plan to size up slightly and say so when you order.
One more caution before you commit: ring sizing is not universal across countries. The United States uses a numeric scale in half and quarter steps, the United Kingdom uses letters, and much of Europe sizes by circumference in millimeters. A chart will convert between them, but confirm which system a retailer uses, since a US 7 and a European 54 describe the same finger in different languages.
Once you have a number you trust, write it down along with the finger, the hand, and the date you measured. That record is useful if you decide to have the ring resized later or if you shop across retailers whose charts differ slightly. A documented measurement beats a remembered one, and it spares you from repeating the whole process when the next occasion arrives.
None of this replaces a jeweler's sizing mandrel, which remains the most precise tool available, and many retailers will send a sizing kit or re-size a band after purchase. Treat your home measurement as a confident starting point: get the finger circumference right, measure warm and late in the day, account for the dominant hand, and give wide bands room to breathe. Do that, and the ring that arrives will feel like it was meant for the hand it lands on.